



Creating fresh content for Instagram every day can feel overwhelming. Between brainstorming ideas, filming, editing, and writing captions, the process eats up hours of your week. But what if you could turn one video into Instagram content that lasts for weeks? This approach is called content repurposing, and it’s a game-changer for creators and marketers who want to stay consistent without burning out.
The idea is simple: you start with one solid video and break it down into multiple pieces of content. From that single recording, you can create Reels, Stories, carousel posts, static images, quote graphics, and more. Each piece serves a different purpose and reaches your audience in different ways. By the end of this guide, you’ll have a clear system for stretching one video into weeks of engaging Instagram posts.
Why Repurposing Video Content Saves Time and Effort
When you repurpose content, you work smarter instead of harder. Instead of starting from scratch every time you need to post, you build on what you’ve already created. This approach has several benefits that make it worth adopting.
First, repurposing saves you significant time. Filming and editing a video takes effort, but once you have that source material, you can extract multiple pieces without repeating the entire production process. You’ve already done the hard work. Now you’re simply repackaging it in different formats.
Second, it helps you stay consistent. Posting regularly on Instagram matters for building an audience, but consistency is hard when you’re always scrambling for new ideas. When you have a library of repurposed content ready to go, you can maintain a steady posting schedule without the stress.
Third, repurposing lets you reinforce your message. Not everyone sees every post you share. By presenting the same ideas in different formats, you increase the chances that your audience will absorb your key points. Someone might scroll past a Reel but stop for a carousel. Another person might miss your feed post but catch your Story.
Understanding why visual content drives engagement on Instagram helps you see why video repurposing works so well. The platform rewards visual variety, and repurposing gives you exactly that.
Finally, reducing the pressure of constant content creation supports your personal well-being. When you’re not stressed about what to post next, you can focus on creating quality content and actually enjoying the process.
Start With a Strong Source Video
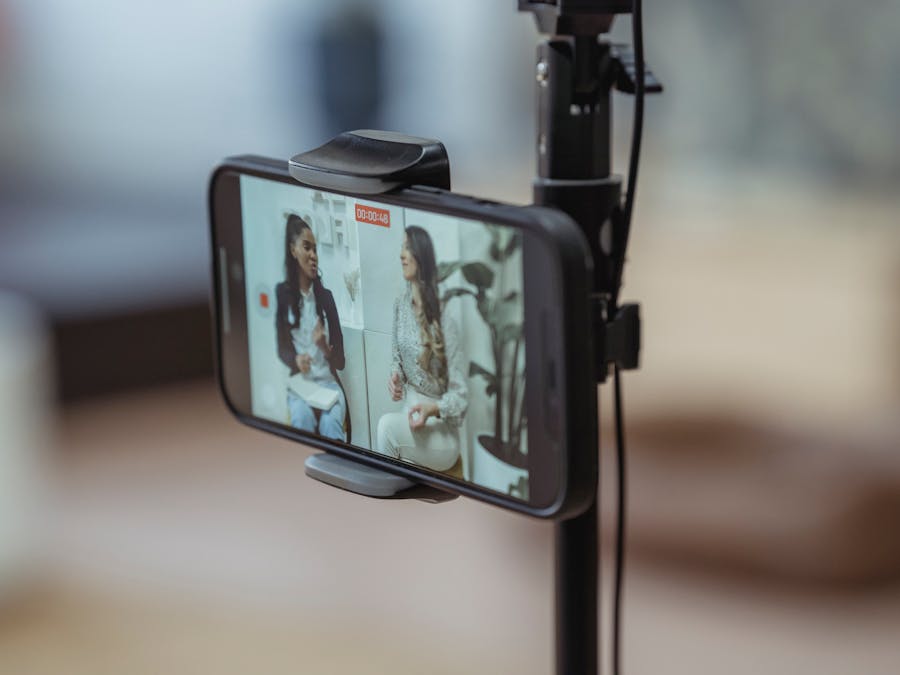
The success of your repurposing strategy depends on the quality of your source video. A well-planned video gives you more material to work with and makes the repurposing process much easier.
When planning your source video, think about length. A video that runs between five and fifteen minutes gives you plenty of content to extract. Shorter videos work too, but longer ones offer more opportunities for clips, quotes, and still frames.
Consider covering multiple subtopics within your main theme. For example, if you’re making a video about morning routines, you might discuss your wake-up time, breakfast habits, exercise routine, and planning process. Each subtopic becomes a potential standalone piece of content later.
Recording quality matters as well. Film in the highest resolution your equipment allows, ideally 1080p or higher. Good lighting and clear audio make your clips more professional and easier to repurpose. Learning how to upload high-quality videos to Instagram ensures your repurposed content looks sharp on the platform.
Think about creating engaging Instagram video content from the start. Speak clearly, vary your energy, and include moments that stand alone as interesting clips. If you plan with repurposing in mind, you’ll naturally create better source material.
Before you start filming, outline the key points you want to cover. This structure helps you stay organized and ensures you have distinct segments to pull from later. You might even pause briefly between topics to create natural cutting points.
Cut Your Video Into Short Clips for Reels

Instagram Reels perform well because they deliver quick, engaging content. Your source video likely contains several moments that work perfectly as standalone Reels.
Start by watching your full video and noting timestamps where you share a complete thought, tell a quick story, give a tip, or say something memorable. Each of these moments can become its own Reel.
Aim for clips between fifteen and sixty seconds. This length works well for Reels and keeps viewers watching until the end. If a segment runs longer, look for ways to trim it down while keeping the core message intact.
When cutting your clips, focus on one idea per Reel. Viewers scroll quickly, so your content needs to deliver value fast. A Reel that tries to cover too much will lose people before they reach the point.
If you’re new to video editing, following an editing guide can help you learn basic cutting and trimming techniques. Most editing software makes it simple to split clips, remove unwanted sections, and export short videos.
Add captions to your Reels. Many people watch without sound, so text on screen helps them follow along. You can also add trending audio or music to boost discoverability, though make sure it fits your content’s tone.
From a single ten-minute video, you might extract five to eight Reels. That’s over a week of content from one recording session. Space these clips out over time so your feed doesn’t feel repetitive.
Turn Video Clips Into Stories
Instagram Stories offer a more casual, behind-the-scenes feel than feed posts. They’re perfect for sharing shorter clips and adding interactive elements that boost engagement.
Take some of your video clips and adapt them for Stories. Since Stories disappear after twenty-four hours, you can share content that feels more spontaneous and less polished than your main feed.
Add text overlays to highlight key points. This helps viewers understand your message even if they’re watching without sound. Keep the text short and easy to read at a glance.
Use Instagram’s built-in features to make your Stories interactive. Add polls asking viewers to share their opinions. Include question stickers inviting them to ask you something. Use emoji sliders to gauge reactions. These elements encourage engagement and help you design content that keeps followers engaged.
You can also use Stories to tease longer content. Share a quick clip and tell viewers to check out the full video on your profile or another platform. This drives traffic and keeps people interested in what you’re creating.
Consider creating Story series from your video. Break a longer segment into multiple fifteen-second clips that play in sequence. This format keeps viewers tapping through and spending more time with your content.
Extract Still Frames for Static Posts and Carousels

Video footage contains countless still images waiting to be discovered. Pulling high-quality frames from your video gives you material for static feed posts and carousel slides.
Look for frames where you have good expressions, interesting backgrounds, or clear visuals that relate to your content. These moments often occur mid-sentence or during natural pauses.
Most video editing software lets you export individual frames as image files. Choose frames that are sharp and well-lit. Avoid blurry moments or awkward expressions.
Once you have your still images, enhance them using photo editing tools. Adjusting brightness, contrast, and color can make a video frame look like a professional photograph. Learning about Adobe photo editing for Instagram can help you polish your extracted frames.
Strong still frames can convey emotion and meaning much like expressive visuals in photography. A single image can tell a story or capture a feeling that resonates with your audience.
Use these images for single feed posts with thoughtful captions. Or combine multiple frames into a carousel that walks viewers through a process or tells a visual story. Carousels tend to get high engagement because people swipe through to see more.
You can also turn still frames into quote graphics. Overlay text from your video onto the image to create shareable content that highlights your best insights.
Convert Video Audio Into Text-Based Content
The words you speak in your video are valuable content on their own. Transcribing your audio opens up new possibilities for text-based posts.
Start by getting a transcript of your video. You can do this manually by listening and typing, or you can use video-to-text converters for Reels that transcribe audio automatically. These tools save time and give you accurate text to work with.
Once you have your transcript, look for standout quotes, tips, or insights. These become the foundation for several types of content.
Create quote graphics using your best lines. Pair the text with a simple background or one of your extracted video frames. Quote posts are highly shareable and help spread your message beyond your immediate followers.
Write longer captions based on your transcript. Take a section of your video and expand on it in written form. This gives followers who prefer reading a way to engage with your ideas.
You can even turn Instagram posts into articles or blog content using your transcribed material. This extends the life of your video beyond Instagram and helps you reach audiences on other platforms.
Transcripts also help with accessibility. Adding captions to your videos ensures that deaf and hard-of-hearing viewers can enjoy your content. It’s a simple step that makes your work more inclusive.
Scale Up Your Video for Different Formats
Instagram uses different aspect ratios for different placements. Reels and Stories work best in vertical 9:16 format. Feed posts often use square 1:1 or portrait 4:5 ratios. Getting your video to fit each format requires some resizing.
If you filmed in landscape, you’ll need to crop or reframe your footage for vertical formats. Look for the most important part of each frame and center it in the new aspect ratio.
Tools like Ltx Scaler help resize video while maintaining quality. These tools can automatically adjust your footage to fit different dimensions without losing sharpness or introducing distortion.
When resizing, pay attention to what gets cut off. Make sure your face, any text on screen, and important visual elements stay visible in the new format. You might need to adjust framing for different clips.
Consider creating multiple versions of the same clip in different aspect ratios. This gives you flexibility when posting. A vertical version works for Reels and Stories, while a square version fits nicely in the main feed.
Some editing apps let you add backgrounds or blur effects to fill the extra space when converting horizontal video to vertical. This approach keeps your original framing while fitting the new format.
Plan a Content Calendar From One Video
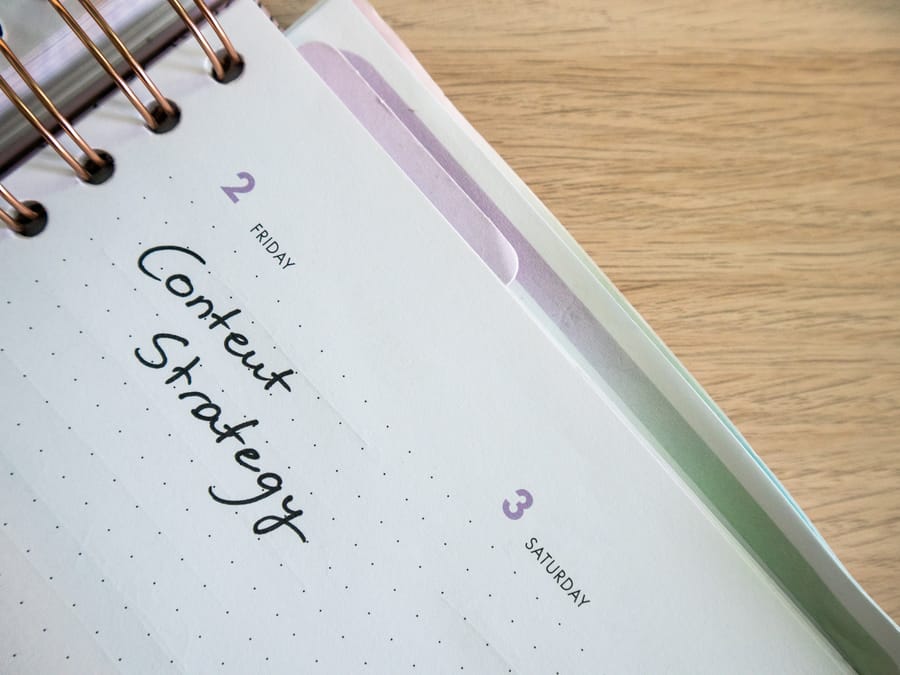
Now that you have all these pieces of content, you need a plan for posting them. A content calendar helps you space out your repurposed content so it feels fresh rather than repetitive.
Start by listing everything you’ve created from your source video. This might include several Reels, a handful of Stories, static posts, carousels, and quote graphics. Count up your pieces to see how many days of content you have.
Spread your content across multiple weeks. Avoid posting similar pieces back to back. If you share a Reel on Monday, wait a few days before posting another Reel from the same source video. Mix in different formats to keep your feed varied.
Consider the best times to post each type of content. Stories work well throughout the day since they’re casual and temporary. Reels and feed posts might perform better at specific times when your audience is most active.
Use a simple spreadsheet or planning tool to map out your posting schedule. Include the date, content type, caption ideas, and any relevant hashtags. This organization saves time when you’re ready to post.
Consistent posting helps build trust with your audience. When followers see you showing up regularly with valuable content, they’re more likely to engage and eventually convert followers into customers if you’re running a business.
Leave room in your calendar for timely content and spontaneous posts. Your repurposed content forms the backbone of your schedule, but you’ll still want flexibility for trending topics or real-time updates.
Tips for Keeping Repurposed Content Fresh
Repurposing works best when your audience doesn’t feel like they’re seeing the same thing over and over. Here are some ways to keep your content feeling new.
Vary your captions. Even if you’re sharing similar visual content, different captions give each post a unique angle. Ask different questions, share different stories, or highlight different aspects of the same topic.
Change up your visuals. Use different frames from your video for each post. Apply different filters or editing styles. Small visual changes make content feel distinct.
Adjust your hooks. The opening seconds of a Reel or the first line of a caption determine whether people keep watching or reading. Experiment with different hooks for similar content to see what resonates.
Remix your content. Combine clips from different parts of your video into new compilations. Layer audio from one section over visuals from another. These creative combinations produce genuinely new content from existing material.
Pay attention to what performs well. If certain clips or formats get more engagement, create more content in that style. Let your audience’s response guide your repurposing strategy.
Finally, don’t be afraid to revisit older videos. Content you created months ago can still be repurposed if it remains relevant. Your newer followers haven’t seen it, and your existing audience might appreciate a fresh take on familiar ideas.
By following these strategies, you can turn one video into Instagram content that keeps your feed active for weeks. The key is planning ahead, staying organized, and presenting your ideas in varied formats that keep your audience engaged. Start with your next video and see how far you can stretch it.