


Have you ever posted an Instagram Story only to find your photo cropped awkwardly or your video looking blurry? You’re not alone. Getting the right Instagram Story size can feel tricky, but it makes a huge difference in how your content looks and performs.
Instagram Stories take up the full screen of your viewer’s phone. When your content doesn’t fit properly, Instagram automatically adjusts it—and those automatic adjustments rarely look good. Text gets cut off, faces get cropped, and your carefully designed graphics lose their impact.
The good news is that understanding Instagram Story size isn’t complicated once you know the basics. In this guide, we’ll walk through everything you need to know about Story dimensions, from the exact pixel measurements to practical tips for making your content look professional every time.
What Is the Correct Instagram Story Size?
The ideal Instagram Story size is 1080 x 1920 pixels with a 9:16 aspect ratio. This vertical format fills the entire screen when someone views your Story on their phone.
Let’s break down what these numbers mean:
- 1080 pixels wide: This is the horizontal measurement of your Story
- 1920 pixels tall: This is the vertical measurement of your Story
- 9:16 aspect ratio: For every 9 units of width, there are 16 units of height
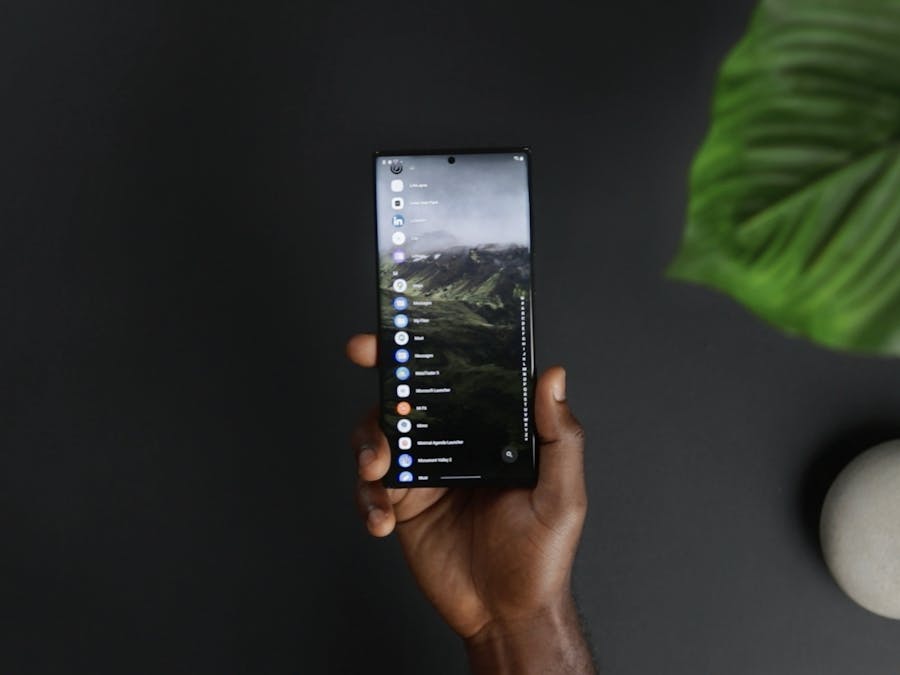
Think of it like a standard smartphone screen turned vertically. The 9:16 ratio is essentially the opposite of widescreen video (which uses 16:9). This vertical orientation makes sense because most people hold their phones upright when scrolling through Stories.
If you’re familiar with other Instagram formats, you’ll notice that Stories have different requirements than regular feed posts. While feed posts can be square (1:1) or landscape (1.91:1), Stories are always vertical. For a complete breakdown of all the different formats, check out our Instagram image size guide.
The minimum width Instagram accepts for Stories is 600 pixels, but uploading content at this size will result in noticeable quality loss. Always aim for the full 1080 x 1920 resolution when possible. This ensures your content displays crisply on all devices, including larger phones and tablets.
Why Does Instagram Story Size Matter?
Using the correct Instagram Story size directly affects how your audience experiences your content. When dimensions are off, several problems can occur that hurt your engagement and make your brand look unprofessional.
Cropping and Cutoff Issues
When you upload content that doesn’t match the 9:16 ratio, Instagram automatically crops it to fit. This means important parts of your image or video might get cut off. A landscape photo will have significant portions removed from the sides, while a square image will lose content from the top and bottom.
Blurry and Pixelated Content
Uploading images or videos that are too small forces Instagram to stretch them to fill the screen. This stretching creates a blurry, pixelated appearance that looks unprofessional. Your viewers will notice the quality difference immediately, and it can make your content feel rushed or careless.
Poor Viewer Experience
People scroll through Stories quickly. If your content looks off—whether it’s cropped strangely, has black bars on the sides, or appears low quality—viewers are more likely to tap past it. First impressions matter, and sizing issues create a negative first impression.
Proper sizing supports effective visual storytelling techniques that keep viewers engaged. When your content fills the screen beautifully and every element is visible, you create an immersive experience that holds attention.
Getting your dimensions right can also help boost your Story views over time. When viewers consistently see high-quality content from your account, they’re more likely to watch your Stories all the way through and come back for more.
Image Requirements for Instagram Stories
Photos are one of the most common types of Story content, and getting them right requires attention to a few key specifications.
Resolution and File Format
For the best quality, upload images at exactly 1080 x 1920 pixels. Instagram accepts several file formats:
- JPG/JPEG: The most common format, good for photos with many colors
- PNG: Better for graphics with text or transparent backgrounds
- GIF: Supported but will display as a static image in Stories
Keep your file size under 30MB for images. Larger files may fail to upload or get compressed heavily by Instagram, reducing quality.
Safe Zones for Images
Even with the correct dimensions, you need to consider safe zones. Instagram’s interface elements—like your profile picture at the top and the message bar at the bottom—cover parts of your Story. Keep important content away from these areas:
- Top 250 pixels: Reserved for your username and profile picture
- Bottom 250 pixels: Reserved for the reply bar and swipe-up area
This means your truly “safe” area for important content is roughly 1080 x 1420 pixels in the center of your Story. If you’re adding multiple pictures to your Story, make sure each image respects these safe zones so nothing important gets hidden.
Color and Brightness Considerations
Very dark or very bright images can look different on various phone screens. Test your content on different devices when possible, and avoid placing important text on areas with extreme contrast.
Video Requirements for Instagram Stories
Video Stories have additional requirements beyond just dimensions. Understanding these specifications helps ensure your videos play smoothly and look great.
Video Dimensions and Aspect Ratio
Like images, videos should be 1080 x 1920 pixels with a 9:16 aspect ratio. Instagram will accept other sizes, but they’ll be cropped or letterboxed (with black bars) to fit the Story format.
Duration Limits
Individual Story clips can be up to 60 seconds long. If you upload a longer video, Instagram will automatically split it into multiple 60-second segments. For the best viewer experience, consider keeping individual clips shorter—around 15 to 30 seconds—to maintain attention.
File Size and Format
Video files should be under 250MB for optimal uploading. Instagram supports these video formats:
- MP4: The most widely compatible format (recommended)
- MOV: Common for iPhone users
For encoding, use H.264 codec with AAC audio for the best compatibility. A frame rate of 30fps works well for most content, though 60fps is supported for smoother motion.
Compressing Large Videos
If your video file is too large, you’ll need to compress it before uploading. Tools like FreeConvert can help reduce file size while maintaining reasonable quality. When compressing, try to keep the resolution at 1080 x 1920 and reduce the bitrate instead of the dimensions.
Properly sized videos perform better, and you can track who views your Instagram videos to monitor how your content resonates with your audience.
How to Resize Images and Videos for Stories
You don’t need expensive software to resize your content for Instagram Stories. Several simple methods work well for both beginners and experienced creators.
Using Your Phone’s Built-In Tools
Most smartphones have basic editing capabilities that can help:
On iPhone:
- Open the Photos app and select your image
- Tap Edit, then tap the crop icon
- Select the aspect ratio option and choose 9:16
- Adjust the crop area to include the parts you want
- Tap Done to save
On Android:
- Open Google Photos or your gallery app
- Select the image and tap Edit
- Choose the crop tool
- Select 9:16 from the aspect ratio options
- Adjust and save
Using Free Editing Apps
Several free apps make Story creation easier:
- Canva: Offers Instagram Story templates already sized correctly
- InShot: Great for both photos and videos with Story-specific presets
- Unfold: Provides stylish Story templates with proper dimensions
These apps often include templates that are already set to 1080 x 1920 pixels, so you can simply add your content without worrying about manual resizing.
Preparing Videos for Upload
For videos that need resizing or compression, you can use FreeConvert to prepare your files. Upload your video, select the output settings that match Instagram’s requirements, and download the optimized file. This is especially helpful when working with footage from cameras or screen recordings that aren’t already in vertical format.
Creating Content in the Right Size from the Start
The easiest approach is to capture content in the correct format from the beginning. When recording video on your phone, hold it vertically. When designing graphics, start with a 1080 x 1920 canvas. This eliminates the need for resizing and ensures nothing important gets cropped.
Safe Zones and Text Placement Tips
Understanding safe zones is crucial for creating Stories that look professional and communicate effectively. Even perfectly sized content can fail if text or important elements get hidden by Instagram’s interface.
The Top Safe Zone
The top 14% of your Story (roughly 250-270 pixels) is covered by your profile picture, username, and the close button. Never place important text, logos, or faces in this area. Viewers won’t be able to see them clearly, and it looks cluttered.
The Bottom Safe Zone
The bottom 14% of your Story (roughly 250-270 pixels) contains the reply bar and, for accounts with the feature, the swipe-up link. Keep calls to action and important information above this area. If you’re using stickers or text that you want viewers to interact with, position them in the middle or upper-middle portion of the screen.
Sticker Placement Best Practices
When you create custom Story stickers, place them thoughtfully within the safe zones. Interactive stickers like polls, questions, and quizzes work best when positioned in the center of the screen where they’re easy to tap. Decorative stickers can go anywhere within the safe area, but avoid clustering too many in one spot.
Text Readability Tips
For text overlays, follow these guidelines:
- Use contrasting colors so text stands out from the background
- Add a subtle shadow or background to text for better readability
- Keep text brief—Stories are meant to be consumed quickly
- Use larger font sizes since viewers are watching on small screens
- Center important text horizontally for a balanced look
Testing Your Layout
Before posting, preview your Story to check that everything appears correctly. Instagram’s preview function shows you exactly how your content will look, including where interface elements will appear. Take a moment to verify that no important content is hidden.
Story Size for Ads and Highlights
The same sizing principles apply whether you’re creating organic Stories, paid advertisements, or content destined for Highlights. Understanding the slight differences helps you plan content that works across all these formats.
Instagram Story Ads
When creating Instagram Story ads, use the same 1080 x 1920 pixel dimensions. However, ads have a few additional considerations:
- The “Sponsored” label appears at the top, so keep that area clear
- A call-to-action button appears at the bottom, requiring extra safe zone awareness
- Video ads can be up to 120 seconds, though shorter ads typically perform better
- The first few seconds are crucial since viewers can skip after a brief moment
For ads, quality matters even more than organic content. Blurry or poorly cropped ads reflect negatively on your brand and waste your advertising budget.
Story Highlights
Highlights are Stories you save to your profile permanently. They use the exact same dimensions as regular Stories, so any content you create for Stories will work perfectly in Highlights.
However, Highlights have one unique element: the cover image. Highlight covers appear as small circles on your profile, so design them with that circular crop in mind. The most important visual element should be centered so it displays well in the circular format.
Since Highlights stay on your profile indefinitely, Story Highlights viewers can access them anytime. This makes quality especially important—these are often the first Stories new followers see when they visit your profile.
Consistency Across Formats
Whether you’re posting organic Stories, running ads, or curating Highlights, maintaining consistent sizing and quality builds brand recognition. Viewers come to expect a certain level of polish from accounts they follow, and meeting that expectation keeps them engaged.
Common Sizing Mistakes to Avoid
Even experienced creators sometimes make sizing errors. Here are the most common mistakes and how to avoid them.
Using Landscape Orientation
Recording video horizontally is natural for many people, but it’s wrong for Stories. Landscape videos will either have large black bars above and below them or get cropped significantly on the sides. Always hold your phone vertically when capturing Story content.
Ignoring Safe Zones
Placing text or important visuals too close to the edges is a frequent error. Even if content looks fine in your editing app, Instagram’s interface will cover portions of it. Always leave buffer space at the top and bottom.
Uploading Low-Resolution Content
Screenshots, heavily compressed images, or content downloaded from other platforms often have reduced quality. When possible, use original files or export at the highest quality settings available.
Inconsistent Sizing Across Posts
Switching between different aspect ratios or quality levels creates a jarring experience for viewers. Inconsistent sizing can disrupt your overall posting pattern and brand consistency. Establish a workflow that produces consistent results every time.
Forgetting About Different Devices
Your Story might look perfect on your phone but appear differently on other devices. Newer phones with taller screens may show more content, while older devices might crop slightly differently. Keeping important content well within safe zones accounts for these variations.
Over-Compressing Files
While compression is sometimes necessary, over-compressing creates visible artifacts and blurriness. Find the balance between file size and quality, and always preview compressed content before posting.
Quick Tips for Better Instagram Stories
Now that you understand the technical requirements, here are practical tips to make your Story creation process smoother and your results more professional.
Create templates you can reuse. Design a few Story templates at 1080 x 1920 pixels that match your brand. Having these ready saves time and ensures consistent sizing every time you post.
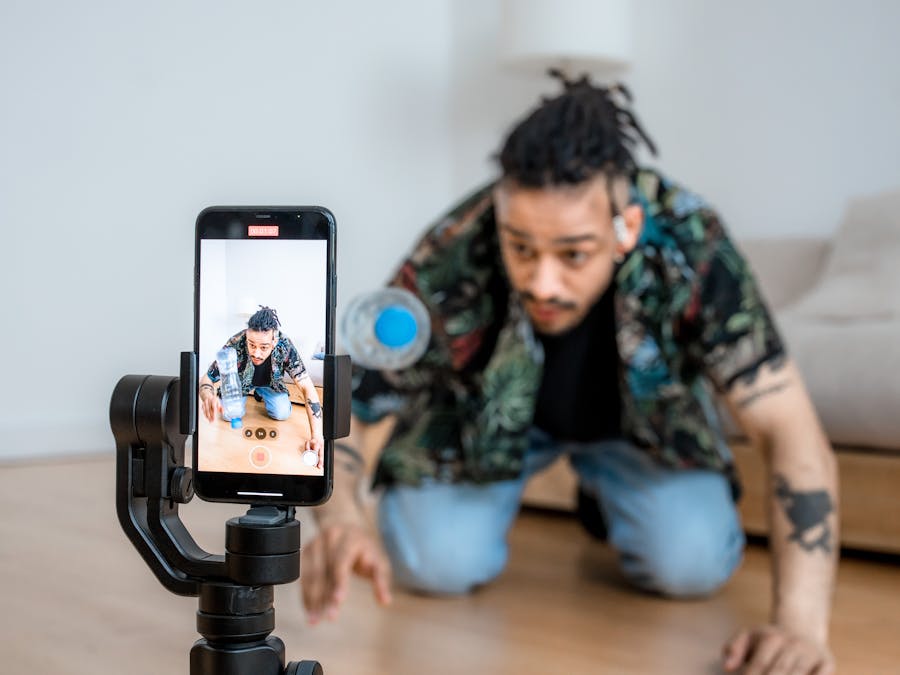
Shoot vertically from the start. Train yourself to hold your phone vertically when capturing content for Stories. This eliminates cropping issues and gives you the full frame to work with.
Use grid overlays when designing. Many design apps offer grid overlays that show safe zones. Use these guides to position elements correctly before exporting.
Test before posting. Take advantage of Instagram’s preview feature. Check that text is readable, important elements are visible, and the overall composition looks balanced.
Keep a consistent style. Whether it’s fonts, colors, or layout patterns, consistency helps viewers recognize your content instantly. This builds brand familiarity and trust.
Optimize for quick consumption. Stories are meant to be viewed rapidly. Keep text short, visuals clear, and messages simple. If viewers have to pause to read or understand your content, you might lose them.
When you’re ready to share a Story on Instagram, double-check that everything meets the sizing requirements we’ve covered. A few extra seconds of verification prevents the frustration of posting content that doesn’t look right.
Getting Instagram Story size right isn’t complicated once you understand the basics. The key measurements—1080 x 1920 pixels with a 9:16 aspect ratio—should become second nature. Combined with awareness of safe zones and quality requirements, you’ll create Stories that look professional and engage your audience effectively.
Remember, every Story is an opportunity to connect with your followers. When your content looks polished and displays correctly, viewers focus on your message rather than being distracted by technical issues. Take the time to get your sizing right, and your Stories will stand out for all the right reasons.