



If you create jewellery or small products and want to share your work on Instagram, video content is one of the best ways to grab attention. Short, polished videos can show off the sparkle of a gemstone, the movement of a pendant, or the fine details that photos sometimes miss. But creating professional-looking videos used to require expensive software and hours of learning complicated tools.
That’s where CapCut comes in. This free video editing app has become a favourite among creators who want to produce eye-catching content without a steep learning curve. Using CapCut for Instagram videos gives you access to powerful editing features that work right on your phone or computer, making it easier than ever to create content that looks polished and professional.
Whether you’re a jewellery designer showcasing your latest collection, a small business owner highlighting your products, or simply someone who wants to improve their Instagram presence, this guide will walk you through everything you need to know about creating stunning videos with CapCut.
Why CapCut Works Well for Instagram Video Creation
CapCut has gained popularity among content creators for several good reasons. First, it’s completely free to use, which matters when you’re running a small business or just starting out. Unlike some editing software that requires monthly subscriptions, CapCut gives you access to professional-grade tools without any cost.
The app is designed with social media in mind. Social media platforms each have their own video requirements, from aspect ratios to length limits, and CapCut makes it simple to create content that fits perfectly. You can easily switch between formats for Reels, Stories, and feed posts without starting from scratch each time.
For jewellery designers and product creators, CapCut offers features that really matter. You can slow down footage to show intricate details, adjust colours to make metals and gemstones look their best, and add smooth transitions between clips. The interface is intuitive enough that you can learn the basics in an afternoon, yet powerful enough to create truly impressive results.
Another advantage is that CapCut works on both mobile devices and desktop computers. This flexibility means you can do quick edits on your phone right after filming, or sit down at your computer for more detailed work when you have time. The projects sync across devices, so you can start editing on one and finish on another.
Getting Started with CapCut for Instagram
Setting up CapCut and starting your first project is straightforward. Download the app from your device’s app store or visit the CapCut website for the desktop version. Once installed, you can create a free account to save your projects and access them across devices.
When you open a new project, one of the first things to consider is your video dimensions. For Instagram Reels and Stories, you’ll want a 9:16 vertical format. For feed posts, 1:1 square or 4:5 vertical formats work well. CapCut lets you set this at the start of your project, which saves time later.
Understanding Instagram Reels length limits helps you plan your content from the beginning. When you know how long your video can be, you can structure your footage accordingly and avoid having to cut important content later.
To import your footage, simply tap the plus button and select videos from your camera roll or computer. You can add multiple clips at once and arrange them on the timeline. CapCut automatically places clips in the order you select them, but you can easily drag and drop to rearrange.
Before diving into editing, it helps to watch through all your footage first. Mark the best moments mentally or use CapCut’s split tool to separate the clips you want to keep. This preparation makes the actual editing process much smoother.
Essential CapCut Features for Jewellery and Product Videos
When showcasing jewellery or small products, certain CapCut features become particularly valuable. Let’s explore the tools that will help your pieces shine on screen.
Trimming and Splitting
The trim tool lets you cut away unwanted footage from the beginning or end of clips. Simply drag the edges of a clip on the timeline to shorten it. The split tool divides a clip into two parts, which is useful when you want to remove a section from the middle or rearrange parts of your footage.
For product videos, precise trimming helps you show only the best angles and moments. If your hand shook slightly or the lighting changed mid-clip, you can easily cut those parts out.
Speed Adjustments
Slow motion is perfect for jewellery videos. When a ring catches the light or a necklace swings gently, slowing down that moment lets viewers appreciate the details. CapCut allows you to adjust speed from 0.1x to 100x, giving you complete control over pacing.
Many creators who make faceless videos on Instagram rely heavily on speed adjustments to create engaging content without appearing on camera. Product-focused videos benefit from this approach, keeping the attention on your creations rather than on you.
Filters and Colour Correction
CapCut includes numerous filters that can enhance your footage with a single tap. However, for jewellery and products, subtle adjustments often work better than dramatic filters. The colour correction tools let you fine-tune brightness, contrast, saturation, and warmth to make your pieces look their best.
Gold jewellery often benefits from slightly warmer tones, while silver and platinum look better with cooler adjustments. Gemstones may need increased saturation to show their true colours on screen. Experiment with these settings to find what works for your specific products.
Transitions
Transitions connect your clips smoothly. CapCut offers dozens of options, from simple fades to more dynamic effects. For product videos, clean transitions like dissolves or slides often work better than flashy effects that might distract from your jewellery.
A good rule is to match your transition style to your brand. If your jewellery is elegant and classic, use subtle transitions. If your pieces are bold and modern, you might choose more energetic effects.
Adding Audio and Voiceovers to Your Videos

Sound plays a crucial role in making videos engaging. Even if viewers watch with the sound off initially, good audio can encourage them to turn it on and watch again.
Background Music
CapCut includes a library of royalty-free music you can use without worrying about copyright issues. Browse by mood or genre to find tracks that complement your content. For jewellery videos, consider elegant instrumental pieces or modern tracks that match your brand personality.
When adding music, pay attention to the volume level. The music should enhance your video without overpowering any voiceover or sound effects you include. CapCut lets you adjust audio levels for each element independently.
Voiceovers and Narration
Adding your voice to videos creates a personal connection with viewers. You can record voiceovers directly in CapCut by tapping the audio button and selecting the record option. Speak clearly and at a natural pace, describing your pieces or sharing the story behind your designs.
If you prefer not to use your own voice, CapCut’s text to speech feature can generate narration from written text. This is helpful for creators who want professional-sounding voiceovers without recording themselves.
For those who do record their own voice but want to modify how it sounds, the voice changer tool offers various effects. You can adjust pitch, add echo, or apply other modifications to create a different sound for your videos.
Sound Effects
Subtle sound effects can make your videos more immersive. The gentle clink of metal, a soft shimmer sound when light catches a gemstone, or ambient sounds can add depth to your content. CapCut’s sound effect library includes many options you can layer into your videos.
Creating Text Overlays and Captions
Text elements help communicate information and keep viewers engaged, especially since many people watch videos without sound initially.
Adding Titles and Labels
CapCut offers numerous text styles and animations. You can add product names, prices, material descriptions, or calls to action directly onto your videos. Position text carefully so it doesn’t cover important parts of your footage.
For jewellery videos, consider adding text that highlights key features: “18k Gold,” “Handcrafted,” or “Limited Edition.” These details help viewers understand what makes your pieces special.
Animated Text
Text animations draw attention and add visual interest. CapCut includes entrance and exit animations that make text appear and disappear smoothly. Choose animations that match your brand style—elegant fades for classic jewellery, or more dynamic effects for contemporary pieces.
The techniques you learn for video text also apply when you create engaging Instagram Stories. Text overlays work similarly across different Instagram formats, so skills transfer easily.
Auto Captions
CapCut can automatically generate captions from spoken audio in your videos. This accessibility feature ensures viewers who are deaf or hard of hearing can enjoy your content, and it helps everyone watching without sound understand what you’re saying.
Review auto-generated captions for accuracy, especially for jewellery-specific terms that the software might not recognise. You can edit any mistakes directly in the app.
Exporting and Uploading Your Finished Videos
After putting effort into editing, you want your final video to look as good as possible on Instagram. Export settings matter more than many creators realise.
Choosing Export Settings
CapCut lets you select resolution and frame rate when exporting. For Instagram, 1080p resolution at 30 frames per second works well for most content. Higher resolutions like 4K are available but may not be necessary since Instagram compresses videos anyway.
The key is to export at the highest quality CapCut offers, then let Instagram handle any compression. Starting with a high-quality file gives you the best possible result after Instagram processes it.
Maintaining Video Quality
Instagram’s compression can sometimes reduce video quality, but there are ways to minimise this. Learning how to upload high-quality videos to Instagram helps ensure your carefully edited content looks its best when followers see it.
Some creators upload videos multiple times if the first attempt looks overly compressed. Instagram’s processing can vary, and sometimes a second upload produces better results.
Saving and Repurposing Content
Keep copies of your exported videos in a organised folder system. You might want to repurpose content later for other platforms or create compilation videos. If you ever need to download Instagram videos you’ve posted, having original files saved makes this unnecessary.
Consider creating different versions of the same video for different purposes. A 60-second Reel might become a 15-second Story teaser or a 30-second feed post with different cropping.
Building a Consistent Video Content Strategy

Creating great individual videos is important, but building a consistent content strategy helps you grow your audience over time.
Planning Your Content Calendar
Decide how often you can realistically create and post videos. It’s better to post one excellent video per week than to rush out daily content that doesn’t represent your work well. The principle of quality over quantity applies strongly to video content, where production takes more time than photos.
Map out themes or series for your videos. You might dedicate certain days to behind-the-scenes content, product showcases, or customer testimonials. Having a structure makes planning easier and gives followers something to anticipate.
Batch Creating Content
Many successful creators film multiple videos in one session, then edit and release them over time. This approach is efficient because you only need to set up lighting and prepare your workspace once. You can then schedule Instagram posts in advance, maintaining a consistent presence even during busy periods.
When batch filming jewellery videos, try different angles, lighting setups, and styling for each piece. This variety keeps your content fresh even when posting frequently.
Analysing Performance
Pay attention to which videos perform best. Instagram’s insights show you views, likes, comments, shares, and saves for each post. Look for patterns—do certain types of videos consistently outperform others? Use this information to guide future content decisions.
Don’t be discouraged if some videos don’t perform as well as others. Every creator has hits and misses. The goal is to learn from each post and gradually improve your content strategy.
Complementary Tools for Your Instagram Workflow
While CapCut handles video editing excellently, other tools can enhance your overall content creation workflow.
Photo Editing
Most jewellery creators post both photos and videos. Using Adobe photo editing for Instagram alongside CapCut gives you a complete toolkit for all your visual content. Consistent editing styles across photos and videos help build a cohesive brand aesthetic.
Understanding Your Niche
Jewellery and accessories fit within the broader fashion category on Instagram. Looking at how successful fashion stores on Instagram present their products can provide inspiration for your own content. Notice how they use video, what styles resonate with audiences, and how they balance promotional content with engaging posts.
Planning and Scheduling Tools
Apps like Later, Planoly, or Meta’s Creator Studio let you plan your feed visually and schedule posts in advance. Seeing how your videos will look alongside your photos helps maintain a cohesive grid appearance.
Lighting Equipment
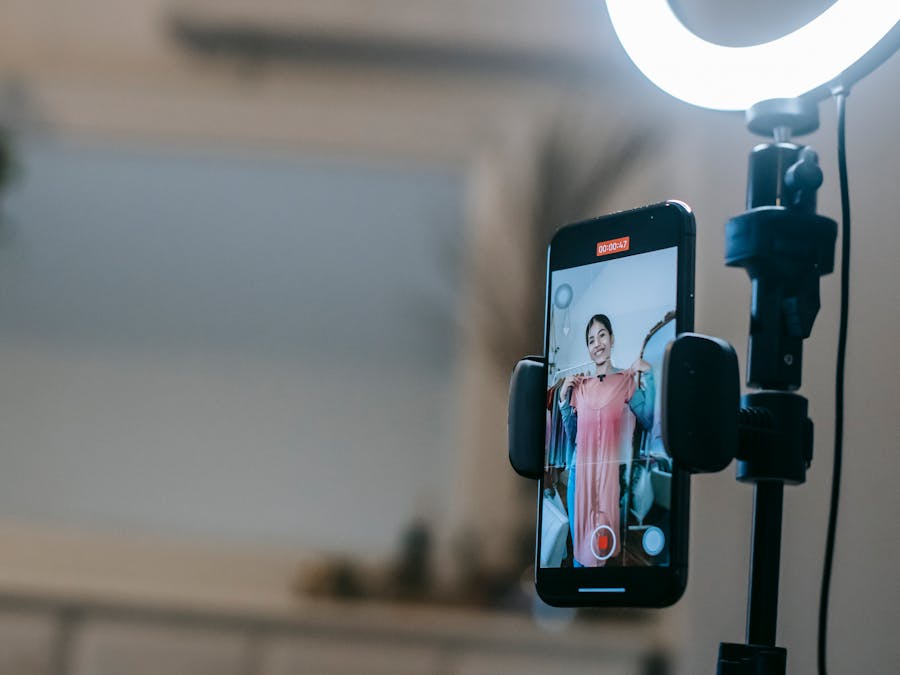
Good lighting makes a huge difference in video quality. Even a simple ring light or small LED panel can dramatically improve how your jewellery looks on camera. Consider investing in basic lighting equipment if you’re serious about video content.
Tips for Making Your Jewellery Videos Stand Out
Here are practical suggestions specifically for showcasing jewellery and small products in video format.
Show movement: Jewellery comes alive when it moves. Gently rotate pieces, let pendants swing, or show how earrings catch the light from different angles. Static shots work for photos, but video should take advantage of motion.
Use clean backgrounds: Simple, uncluttered backgrounds keep attention on your pieces. White, black, or neutral-toned surfaces work well. Avoid busy patterns that compete with your jewellery for attention.
Include scale references: Viewers can’t always tell how large or small a piece is from video alone. Show jewellery being worn, or include familiar objects for scale. This helps potential customers understand what they’re looking at.
Highlight details: Use close-up shots and slow motion to show craftsmanship details that might be missed otherwise. The texture of a hammered surface, the precision of a setting, or the clarity of a stone all deserve attention.
Tell stories: Share the inspiration behind pieces, your design process, or the materials you use. Story-driven content creates emotional connections that pure product showcases don’t achieve.
Keep it short: Attention spans are limited on social media. Get to the most interesting content quickly and keep videos concise. You can always create longer content for viewers who want more detail.
Using CapCut for Instagram videos opens up creative possibilities that were once only available to professional video editors. With practice and experimentation, you can create content that truly showcases the beauty of your jewellery and helps your business grow on Instagram.