


Creating eye-catching Instagram content takes more than just pointing your phone at something interesting and hitting the shutter button. The photos that stop people mid-scroll and earn those double-taps usually have something in common: thoughtful editing that brings out the best in every image.
If you want your Instagram feed to look polished and professional, learning how to use an Instagram Adobe photo editor workflow can make a huge difference. Adobe offers powerful yet accessible tools that help you transform ordinary snapshots into scroll-stopping content. Whether you’re a casual poster or building a brand, understanding how to edit your photos properly will help you connect with your audience in a more meaningful way.
This guide walks you through everything you need to know about combining Instagram with Adobe’s photo editing tools. You’ll learn the basics of getting started, master essential editing techniques, and discover how to create a consistent visual style that makes your profile instantly recognizable.
Why Photo Editing Matters for Instagram Success
Instagram is a visual platform at its core. When someone scrolls through their feed, they make split-second decisions about what catches their attention. A well-edited photo stands out from the crowd, while an unpolished image often gets scrolled past without a second thought.
Think about the accounts you follow and admire. Chances are, their photos share certain qualities: balanced lighting, appealing colors, and a cohesive look that ties everything together. These qualities rarely happen by accident. They come from understanding how visual content drives engagement and taking the time to edit photos before posting.
Photo editing helps you correct common problems that even the best smartphone cameras can’t avoid. Maybe the lighting was too harsh, the colors look washed out, or the composition needs a slight adjustment. Editing gives you control over these elements so your final image matches what you envisioned when you took the shot.
Beyond fixing problems, editing lets you add your personal creative touch. You can enhance mood, emphasize certain elements, and create a signature style that followers recognize instantly. With Instagram’s many features supporting photos, Stories, Reels, and more, having strong editing skills helps you create compelling content across every format.
The good news is that you don’t need years of experience or expensive software to edit like a pro. Modern tools have made professional-quality editing accessible to everyone willing to learn the basics.
Getting Started with Adobe Photo Editor
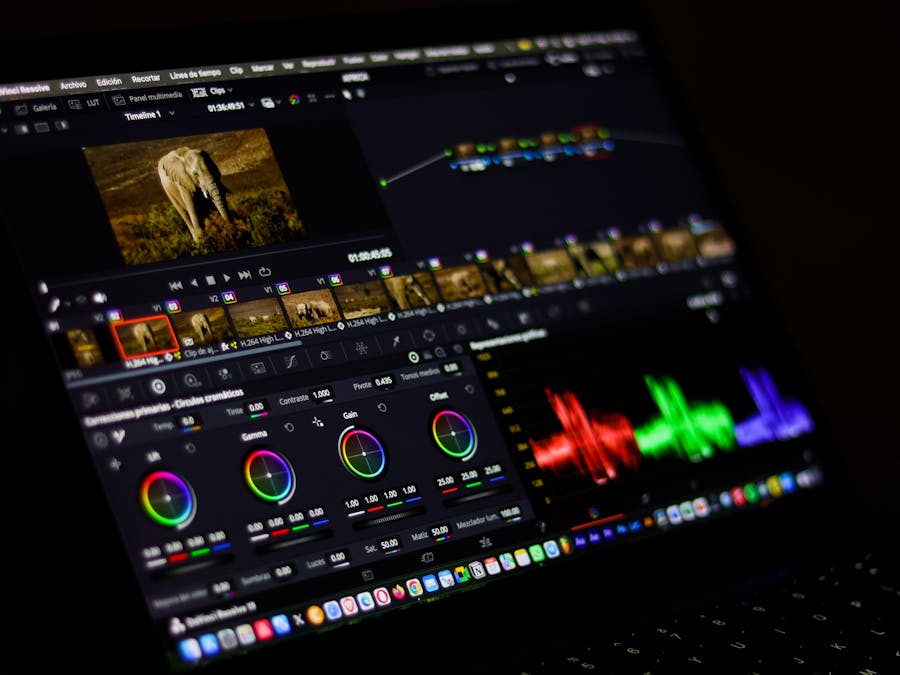
Adobe has long been the industry standard for photo editing, and their tools range from professional desktop applications to user-friendly browser-based options. For Instagram creators, Adobe’s Photo Editor offers an excellent starting point that balances power with ease of use.
When you first open the editor, you’ll see a clean interface designed to help you find what you need quickly. The main workspace shows your image in the center, with editing tools organized in panels around it. Don’t let the number of options overwhelm you. Most Instagram editing involves just a handful of core adjustments that you’ll learn to use instinctively.
Start by uploading a photo you want to edit. You can drag and drop an image directly into the editor or use the upload button to browse your files. Once your image loads, take a moment to look at it critically. What do you like about it? What could be improved? This quick assessment helps you approach editing with a clear goal in mind.
The toolbar typically includes options for cropping, adjusting exposure and color, applying filters, and adding text or graphics. For Instagram purposes, you’ll spend most of your time in the adjustment panels that control brightness, contrast, saturation, and similar settings. These fundamental tools give you the power to transform any photo.
One helpful feature to look for is the ability to save presets or editing settings. Once you develop a style you like, saving those settings lets you apply them to future photos with a single click. This saves time and helps maintain consistency across your content.
Essential Editing Techniques for Instagram Photos
Now that you’re familiar with the interface, let’s explore the editing techniques that will have the biggest impact on your Instagram photos. These core skills form the foundation of all photo editing, and mastering them will dramatically improve your content.
Cropping and Composition
Cropping is often the first step in editing. It lets you remove distracting elements from the edges of your frame, improve the overall composition, and ensure your image fits Instagram’s preferred dimensions. When cropping, think about the rule of thirds: imagine your image divided into a three-by-three grid, and try to place important elements along those lines or at their intersections.
Brightness and Exposure
Adjusting brightness helps you correct photos that came out too dark or too light. The exposure slider controls the overall lightness of your image, while highlights and shadows let you fine-tune specific areas. If your subject’s face is in shadow, for example, you can lift the shadows without blowing out the bright areas of the photo.
Contrast
Contrast controls the difference between the lightest and darkest parts of your image. Increasing contrast makes photos look more dramatic and punchy, while decreasing it creates a softer, more muted look. Most Instagram photos benefit from a slight contrast boost to help them stand out on small screens.
Saturation and Vibrance
These settings control color intensity. Saturation affects all colors equally, while vibrance is more subtle, boosting muted colors without oversaturating already-vivid tones. Understanding the psychology of colors and themes can help you make better decisions about how much to adjust these settings. Warm, saturated colors often feel energetic and inviting, while cooler, desaturated tones can create a calm or moody atmosphere.
White Balance
White balance corrects color casts caused by different lighting conditions. Indoor lighting often makes photos look orange, while shade can add a blue tint. Adjusting white balance ensures that whites look truly white and skin tones appear natural.
Editing Portraits and People Photos
Photos featuring people require special attention during editing. The goal is to make your subjects look their best while keeping the results natural and authentic. Understanding the basics of portrait photography helps you know what to aim for when editing.
Start with exposure adjustments to ensure faces are properly lit. If someone’s face is in shadow, use the shadows slider to brighten those areas without affecting the rest of the image. Be careful not to overdo it, as overly bright shadows can look unnatural.
Skin tones deserve careful attention. When adjusting saturation or color temperature, check how these changes affect skin. Oversaturated skin looks orange and fake, while undersaturated skin can appear sickly. Make small adjustments and zoom in to check the results.
For portraits, consider using a slight vignette, which darkens the edges of the frame and draws attention toward the center where your subject is. This subtle effect helps viewers focus on what matters most in the image.
Sharpening can help eyes and facial features pop, but apply it sparingly. Over-sharpened portraits look harsh and can emphasize skin texture in unflattering ways. A light touch goes a long way.
Optimizing Images for Different Instagram Formats

Instagram supports several content formats, and each has different requirements for image dimensions and aspect ratios. Understanding these specifications helps you create content that looks its best everywhere it appears.
Feed Posts
Square images at 1080 by 1080 pixels remain a classic choice for feed posts. However, Instagram also supports portrait orientation at 1080 by 1350 pixels, which takes up more screen space and can increase engagement. Landscape images work too, though they appear smaller in the feed.
Stories
Stories use a vertical format at 1080 by 1920 pixels, matching the dimensions of most smartphone screens. When editing photos for Stories, consider how they’ll look with text overlays or stickers. Leave some space for these elements rather than filling every inch of the frame. You can also add multiple pictures to Instagram Stories to create engaging sequences that tell a complete story.
Reels Covers
If you’re creating cover images for Reels, use the same 1080 by 1920 dimensions as Stories. The cover image is what appears in your profile grid, so choose or create something visually appealing that represents the video content.
Export Settings
When saving your edited photos, pay attention to file format and quality settings. JPEG works well for most Instagram content, and you should export at the highest quality setting available. This helps you upload high-quality content to Instagram that looks sharp and professional rather than compressed and blurry.
Some editing tools let you resize images during export. If yours does, set the dimensions to match Instagram’s requirements rather than uploading oversized files that Instagram will compress automatically.
Creating a Consistent Visual Style

One thing that separates memorable Instagram accounts from forgettable ones is visual consistency. When someone lands on your profile, they should immediately get a sense of your aesthetic. This doesn’t mean every photo looks identical, but rather that they share certain qualities that tie them together.
Developing Your Style
Start by looking at accounts you admire and analyzing what makes their visual style work. Do they favor warm or cool tones? High contrast or soft and airy? Bright and colorful or moody and muted? Use these observations as inspiration, but don’t copy directly. Your style should reflect your personality and the content you create.
Using Presets and Filters
Once you’ve developed editing settings you like, save them as a preset. Applying the same preset to all your photos creates instant consistency. You may need to make small adjustments for individual images, but starting from the same baseline keeps everything cohesive.
Planning Your Grid
Before posting, preview how new photos will look alongside your existing content. Many creators use planning apps that let you arrange photos before publishing. This helps you spot images that don’t fit your aesthetic before they go live.
A consistent style also makes it easier to repurpose content for weeks because everything you create fits together naturally. You can mix and match content across posts, Stories, and Reels without worrying about visual clashes.
Evolving Over Time
Your style doesn’t have to stay the same forever. Many successful creators gradually evolve their aesthetic as their skills improve and their tastes change. The key is making changes gradually rather than dramatically shifting from one style to another overnight.
Expanding Beyond Photos to Video Content
The skills you develop editing photos translate directly to video content. Instagram increasingly favors video through Reels and Stories, so understanding how to apply your visual style to moving images gives you a significant advantage.
Many of the same principles apply. You’ll still adjust exposure, contrast, and color. You’ll still think about composition and framing. The main difference is that video editing involves working with clips over time rather than single frames.
Color grading in video works similarly to photo editing. You can apply looks and adjustments that match your photo style, creating consistency across all your content. If your photos have warm, golden tones, your videos should share that quality.
Learning about creating engaging Instagram video content helps you understand the unique considerations for moving images. Things like pacing, transitions, and audio become important factors that don’t exist in still photography.
Start simple by applying your photo editing skills to video thumbnails and cover images. As you get comfortable, explore video editing tools that offer similar adjustment capabilities to what you use for photos. Many creators find that their photo editing experience gives them a head start when learning video.
The Future of Photo Editing for Social Media
Photo editing technology continues to advance rapidly, and staying aware of emerging trends helps you prepare for what’s coming. Several developments are already changing how creators approach visual content.
Artificial Intelligence (AI) is transforming photo editing in significant ways. AI-powered tools can now automatically enhance photos, remove backgrounds, and even generate entirely new images. These capabilities are becoming more accessible and integrated into mainstream editing software.
For Instagram creators, AI tools offer exciting possibilities. Automatic adjustments can speed up your workflow, while more advanced features let you accomplish things that previously required expert skills. However, these tools work best when guided by someone who understands the fundamentals of good editing.
Looking further ahead, virtual and augmented reality technologies may influence how we create and consume visual content. While these technologies are still developing, they hint at a future where static images evolve into more immersive experiences.
The best approach is to master current tools while staying curious about new developments. The fundamental principles of good visual content remain constant even as the technology changes. Strong composition, appealing colors, and authentic storytelling will always matter.
Managing Your Edited Content Library

As you create more edited content, organization becomes increasingly important. A well-managed photo library saves time, prevents lost work, and helps you maintain consistency across your content.
File Organization
Create a folder structure that makes sense for your workflow. Many creators organize by date, project, or content type. Whatever system you choose, stick with it consistently. Name your files descriptively so you can find specific images later without opening every file.
Backing Up Your Work
Edited photos represent hours of creative work. Losing them to a computer crash or accidental deletion is devastating. Set up automatic backups to cloud storage or an external drive. Keep both original and edited versions so you can revisit your edits later if needed. If something does go wrong, knowing how to recover lost Instagram content can save you from starting over completely.
Tracking Published Content
Keep records of what you’ve posted and when. This helps you avoid accidentally reposting the same content and lets you analyze which types of images perform best. Some creators use spreadsheets, while others prefer dedicated content planning tools.
It’s also helpful to view tagged photos on Instagram periodically to see how others are featuring your content or brand. This gives you insight into how your visual style appears when shared by others.
Archiving Old Content
Not every edited photo needs to stay in your active library forever. Periodically move older content to an archive folder. This keeps your working folders manageable while preserving everything for potential future use.
Building good organizational habits early saves significant headaches as your content library grows. The few minutes you spend organizing each week pay off enormously over time.
Using an Instagram Adobe photo editor workflow might seem like extra effort at first, but the results speak for themselves. Better photos lead to more engagement, stronger connections with your audience, and a profile that truly represents your creative vision. Start with the basics, practice regularly, and watch your visual content improve with every edit you make.