


Have you ever taken the perfect photo, only to upload it to Instagram and find that the platform cut off part of your image? Maybe your friend’s face got cropped out, or the beautiful scenery you captured lost its best parts. Learning how to make pictures fit on Instagram is one of the most practical skills you can develop as a content creator or casual user.
Instagram has specific requirements for image dimensions, and when your photos don’t match these requirements, the app automatically crops them. This can lead to frustrating results, especially when you’ve spent time composing the perfect shot. The good news is that with a little preparation, you can ensure your images display exactly as you intended.
In this guide, we’ll walk through everything you need to know about Instagram image sizing. You’ll learn why cropping happens, what dimensions work best, and how to use simple tools to prepare your photos before uploading. By the end, you’ll have the confidence to share images that look sharp and professional every time.
Why Instagram Crops Your Photos
Instagram wasn’t always flexible with image sizes. When the platform first launched, it only accepted square photos. While the app has expanded its options over the years, it still has strict boundaries for what it will display. When you upload an image that falls outside these boundaries, Instagram automatically crops it to fit within its accepted aspect ratios.
The cropping happens because Instagram needs to maintain a consistent look across its feed. If users could upload images of any size or shape, the browsing experience would become chaotic and difficult to navigate. By enforcing specific dimensions, Instagram keeps everything looking clean and organized.
Understanding these limitations is the first step toward working with them rather than against them. When you know what sizes Instagram accepts, you can prepare your images accordingly. Our Instagram image size guide breaks down all the specific dimensions the platform supports for different content types.
The most common reason for unexpected cropping is uploading landscape photos that are too wide or portrait photos that are too tall. Instagram has maximum aspect ratios for both orientations, and anything beyond those limits gets trimmed. This is why a panoramic beach shot might lose its edges, or a tall building photo might get cut at the top and bottom.
Instagram Image Size Requirements
Getting your images to display correctly starts with understanding the exact specifications Instagram uses. Different content types have different requirements, so let’s break them down clearly.
For regular feed posts, Instagram accepts images between 320 and 1080 pixels wide. However, for the best quality, you should aim for 1080 pixels on the shortest side. This ensures your image looks crisp on high-resolution phone screens without unnecessary file bloat.
Stories and Reels use a vertical format optimized for full-screen viewing on mobile devices. The ideal dimensions are 1080 pixels wide by 1920 pixels tall, which creates a 9:16 aspect ratio. This fills the entire phone screen when someone views your content.
Profile pictures work differently since they display as circles. Instagram recommends uploading a square image of at least 320 by 320 pixels, though 400 by 400 pixels provides better quality. Keep in mind that the corners will be cropped into a circular shape, so center your subject accordingly.
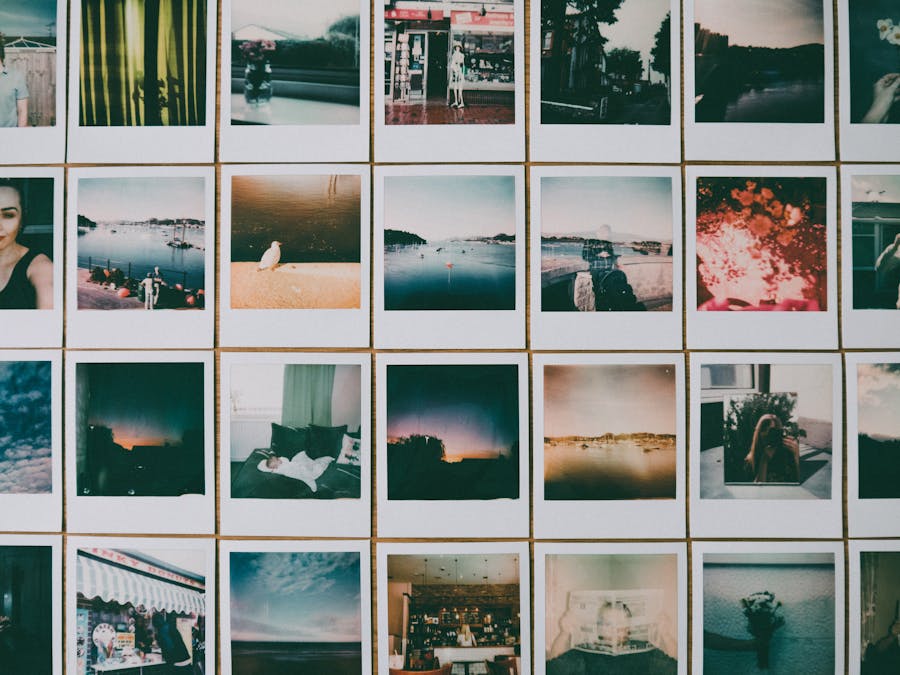
For carousel posts, all images in the set should share the same aspect ratio. If you mix different ratios, Instagram will crop them to match the first image in your carousel. Planning ahead prevents awkward cropping on your second, third, or fourth slides.
Square, Portrait, and Landscape Options
Instagram feed posts support three main aspect ratio options, each suited to different types of content.
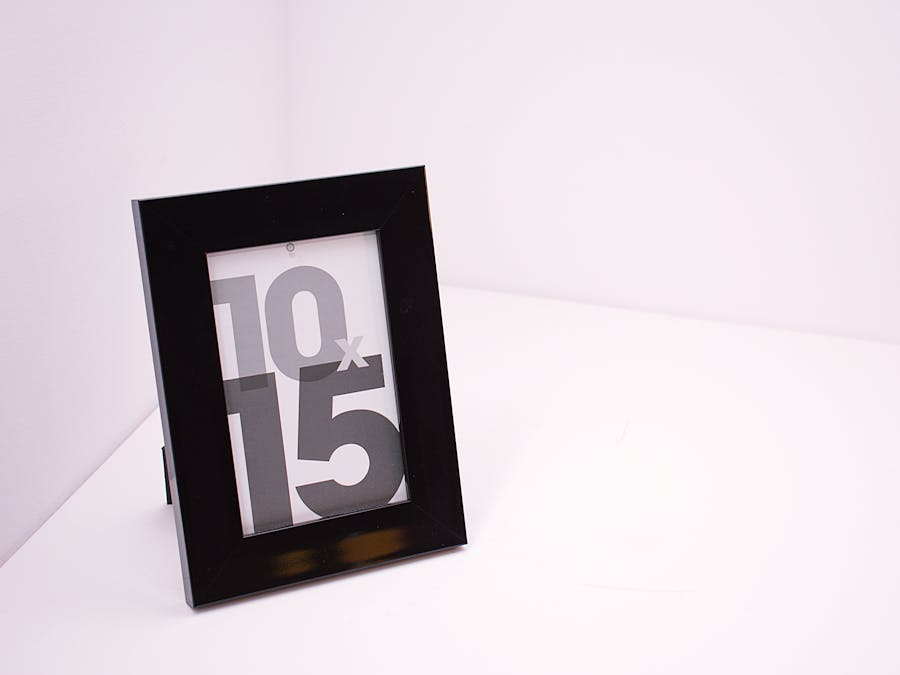
Square images use a 1:1 aspect ratio, meaning the width and height are equal. The ideal size is 1080 by 1080 pixels. Square photos work well for product shots, food photography, and any subject that fits naturally within a balanced frame. They also take up significant space in the feed, making them attention-grabbing.
Portrait orientation uses a 4:5 aspect ratio, which is taller than it is wide. The recommended dimensions are 1080 by 1350 pixels. This format is excellent for full-body shots, tall buildings, or any vertical subject. Portrait images actually take up more screen space than square ones when someone scrolls through their feed, which can increase engagement.
Landscape images use a 1.91:1 aspect ratio, making them wider than they are tall. The ideal size is 1080 by 566 pixels. This format works best for scenic photography, group shots, or any subject that naturally extends horizontally. However, landscape images appear smaller in the feed compared to square or portrait options.
Choosing the right aspect ratio depends on your subject matter and goals. If you want maximum visibility in the feed, portrait orientation gives you the most screen real estate. If your subject is naturally horizontal, landscape keeps everything in frame without awkward cropping.
How to Resize Photos Before Uploading
Rather than letting Instagram crop your images automatically, you can resize them yourself before uploading. This gives you complete control over what appears in the final post.
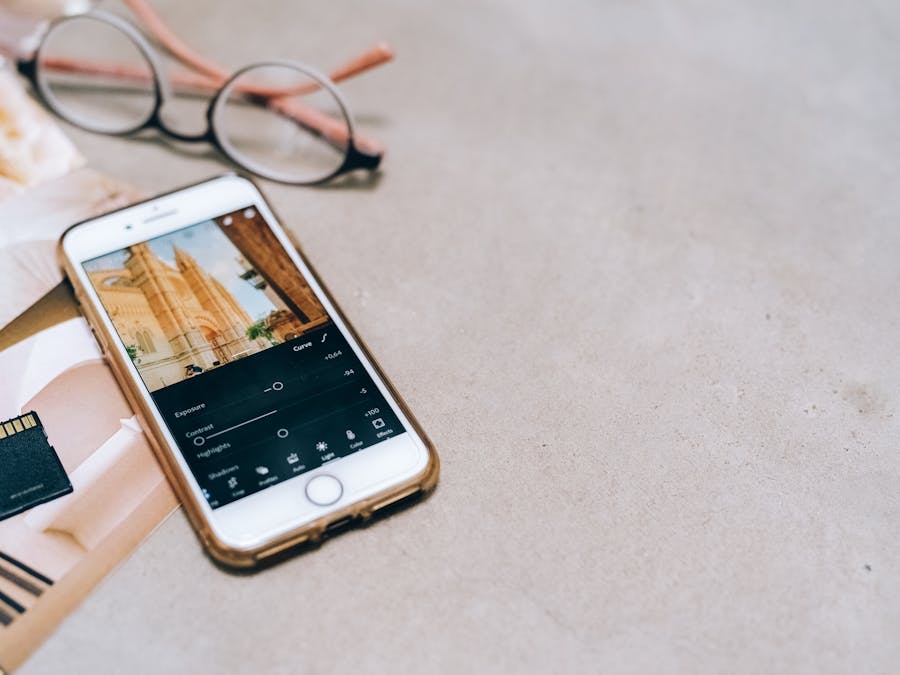
Several free tools make resizing simple, even if you have no design experience. Canva is one of the most popular options because it offers preset templates for Instagram dimensions. You can upload your photo, choose the Instagram post template, and adjust the positioning until everything looks right. Canva also offers a feature called Magic Resize that automatically adapts your design to different platform sizes.
On mobile devices, apps like InShot and Snapseed offer quick resizing options. These apps let you adjust dimensions, add padding, and preview how your image will look before you export it. They’re convenient because you can edit and upload directly from your phone without switching devices.
For more advanced editing, desktop software like Adobe Photoshop or the free alternative GIMP provides precise control over image dimensions. You can set exact pixel values and use guides to ensure your subject stays centered within Instagram’s accepted ratios.
Many creators are now exploring AI tools for Instagram marketing that can help automate image preparation. These tools can batch-resize multiple images, suggest optimal cropping, and even enhance image quality during the process.
Whichever tool you choose, the key is to resize before uploading. This prevents Instagram’s automatic cropping from making decisions you didn’t intend.
Adding Borders to Fit Full Photos
Sometimes you have an image that doesn’t fit Instagram’s aspect ratios, but you don’t want to crop any part of it. In these cases, adding borders is a clever solution that lets you display the entire image within Instagram’s boundaries.
Borders work by placing your original image on a larger canvas that matches Instagram’s accepted dimensions. The extra space around your photo fills with a solid color, gradient, or pattern. White borders are the most common choice because they look clean and don’t distract from the main image.
To add borders, you can use the same tools mentioned for resizing. In Canva, create a new design with Instagram dimensions, add a background color, then place your image on top and scale it to fit within the frame. The background color becomes your border.
Mobile apps like Whitagram and Squaready are specifically designed for adding borders to Instagram photos. They automatically detect your image dimensions and add the appropriate padding to make it fit. You can choose border colors, adjust the image position, and preview the result before saving.
When using borders, consider how they’ll look in your overall feed. Consistent border colors can become part of your visual style, creating a cohesive look across all your posts. This approach is popular among photographers and artists who want to showcase their work without compromising on cropping. Understanding the principles of designing for Instagram engagement can help you decide whether borders fit your brand aesthetic.
Keep in mind that borders reduce the size of your actual image within the frame. If your photo contains small details that viewers need to see, borders might make those details harder to appreciate.
Cropping Tips to Keep Your Subject in Frame
When cropping is necessary, doing it thoughtfully ensures your main subject stays visible and the composition remains strong. A few simple techniques can make a big difference in your final results.
Before cropping, identify the most important element in your photo. This might be a person’s face, a product, or a specific detail in a landscape. Make sure this element stays within the crop boundaries, even if it means sacrificing less important parts of the image.
Using the rule of thirds can help you make better cropping decisions. Imagine your image divided into a three-by-three grid. Placing your main subject along these grid lines or at their intersections often creates a more visually appealing composition than centering everything.
Leave some breathing room around your subject. Cropping too tightly can make images feel cramped and uncomfortable. A little extra space around the edges gives viewers’ eyes room to rest and makes the composition feel more natural.
When cropping portraits, avoid cutting at joints like elbows, knees, or ankles. These crop points look awkward and unnatural. Instead, crop at mid-thigh, mid-arm, or keep the full body in frame.
Preview your crop before finalizing it. Most editing apps let you see exactly how the image will look after cropping. Take a moment to review and make adjustments if something feels off. What looks good on a large editing screen might feel different when viewed as a small thumbnail in someone’s feed.
If you’re cropping for a carousel post, maintain consistent framing across all images. This creates a smoother viewing experience as people swipe through your content.
Maintaining Image Quality During Upload
Even when your dimensions are correct, Instagram’s compression can reduce image quality during upload. Understanding how to minimize this compression helps your photos stay sharp and detailed.
Instagram compresses images to reduce file sizes and speed up loading times. This compression is more aggressive on larger files, so uploading images that are already optimized can reduce the quality loss. Aim for file sizes under 1 megabyte when possible.
Export your images in JPEG format with quality settings between 80 and 100 percent. This provides a good balance between file size and visual quality. PNG files work too, but they’re often larger and may trigger more compression.
Avoid uploading images that have already been compressed multiple times. Each round of compression degrades quality further. If you’ve edited an image in multiple apps, try to export only once at the final stage rather than saving and re-opening repeatedly.
Sharpening your image slightly before upload can help counteract the softening effect of compression. Most editing apps have a sharpening tool. Apply it subtly—over-sharpening creates an unnatural, crunchy look that’s worse than slight softness.
Maintaining Instagram and website visual synergy means keeping your image quality consistent across all platforms where you share content. The same attention to quality that makes your Instagram posts look good should apply to your website, email newsletters, and other marketing materials.
Upload over a strong WiFi connection rather than mobile data. Some users report that Instagram applies heavier compression when detecting slower connections, though this isn’t officially confirmed. Either way, a stable connection ensures the upload completes without interruption.
Creating a Consistent Visual Style
Proper image sizing isn’t just about individual posts—it contributes to your overall feed appearance and helps build recognition with your audience. When all your images share consistent dimensions and quality, your profile looks polished and intentional.
Decide on a primary aspect ratio for your feed posts and stick with it. Some creators use only square images, while others prefer the taller portrait format. Mixing ratios randomly creates a choppy, disorganized look when someone views your profile grid.
Your sizing choices contribute to your aesthetic identity on the platform. Whether you prefer minimalist borders, edge-to-edge images, or a specific crop style, consistency makes your content instantly recognizable to followers.
Consider how your images will look together in the grid view. Instagram displays posts in rows of three, so thinking about how adjacent images interact can create interesting visual effects. Some creators plan their posts so that every three images form a cohesive row.
Many successful accounts, including fashion brands on Instagram, maintain strict visual guidelines for their content. They use the same aspect ratios, similar color palettes, and consistent editing styles across all posts. This attention to detail builds brand recognition and makes their feeds visually appealing.
Establishing a consistent posting pattern that includes standardized image sizing helps your audience know what to expect from your content. When followers recognize your visual style, they’re more likely to engage with your posts because they already trust the quality you deliver.
Document your sizing preferences so you can maintain consistency over time. Note which aspect ratios you use, what border colors work with your brand, and any specific cropping guidelines you follow. This reference makes it easier to stay consistent, especially if you create content in batches.
Troubleshooting Common Image Problems
Even with careful preparation, you might encounter issues when uploading images to Instagram. Here are solutions to the most frequent problems.
If your images appear blurry after uploading, the most likely cause is excessive compression. Try reducing your original file size before uploading, or increase the sharpness slightly during editing. Also check that you’re uploading the full-resolution version rather than a thumbnail or preview file.
When Instagram crops your image unexpectedly, double-check your aspect ratio. Use a calculator or editing app to confirm your dimensions fall within Instagram’s accepted ranges. Even being slightly outside the limits can trigger automatic cropping.
Upload failures often result from connectivity issues or file problems. If an upload keeps failing, try switching between WiFi and mobile data, restarting the app, or clearing the app cache. If the problem persists, the image file itself might be corrupted—try re-exporting it from your editing software.
Sometimes images look different on Instagram than they did in your editing app. This can happen due to color profile differences. Export your images in the sRGB color space, which is the standard for web display. Other color profiles like Adobe RGB may not display correctly on all devices.
For persistent technical difficulties, our guide on troubleshooting Instagram issues covers additional solutions for common app problems that might affect your uploads.
If you’re building custom tools or integrations for image handling, the Instagram API documentation provides technical specifications that developers can use to ensure proper image formatting programmatically.
Building a Professional Instagram Presence
Mastering image sizing is one piece of building a professional presence on Instagram. When your photos consistently display correctly, you demonstrate attention to detail that reflects well on your personal brand or business.
First impressions matter on social media. When someone visits your profile for the first time, they quickly scan your grid to decide whether to follow you. Properly sized, high-quality images signal that you take your content seriously and care about your audience’s experience.
Professional-looking content also supports other goals you might have on the platform. If you’re working toward getting verified on Instagram, having a polished visual presence demonstrates the authenticity and professionalism that the verification process considers.
Beyond sizing, think about how your images tell a story about who you are or what your brand represents. Consistent quality and thoughtful composition build trust with your audience over time. People are more likely to engage with content that looks intentional rather than haphazard.
Remember that learning how to make pictures fit on Instagram is a skill that improves with practice. The more you work with different image types and aspect ratios, the more intuitive the process becomes. Soon, preparing images for Instagram will feel like second nature.
Start by applying these techniques to your next few posts. Pay attention to how your images display after uploading, and adjust your process based on the results. With a little attention to sizing and quality, your Instagram content will look better than ever.