


Have you ever taken the perfect photo, only to see Instagram chop off important parts when you try to post it? You’re not alone. Many people struggle with this frustrating issue every day. Whether it’s a beautiful landscape, a group photo where someone gets cut out, or a product shot that loses its impact, cropping can ruin your carefully composed images.
Learning how to get the full picture on Instagram doesn’t have to be complicated. With a few simple techniques and the right tools, you can share your complete images exactly as you intended. This guide will walk you through everything you need to know about displaying full-sized photos on Instagram, from understanding why cropping happens to practical solutions you can start using today.
Whether you’re a casual user who wants better vacation photos or a business owner showcasing products, these tips will help you make the most of your Instagram images. Let’s dive into the details and solve this common problem once and for all.
Why Instagram Crops Your Photos
Instagram wasn’t always so strict about image dimensions. When the platform first launched, every photo had to be a perfect square. While that rule has relaxed over the years, Instagram still has specific requirements for how images appear in your feed and on profile grids.
The main reason Instagram crops photos is to maintain consistency across the platform. When you scroll through your feed, every image fits neatly into the same space. This creates a clean, organized look that makes browsing easier. Instagram crops photos to create an optimal user experience for all viewers, ensuring that content loads quickly and displays properly on different devices.
Another factor is mobile optimization. Most people use Instagram on their phones, and screen sizes vary widely. By enforcing certain aspect ratios, Instagram ensures that images look good whether you’re viewing them on a small phone screen or a larger tablet. This standardization helps the app run smoothly and keeps the visual experience consistent for everyone.
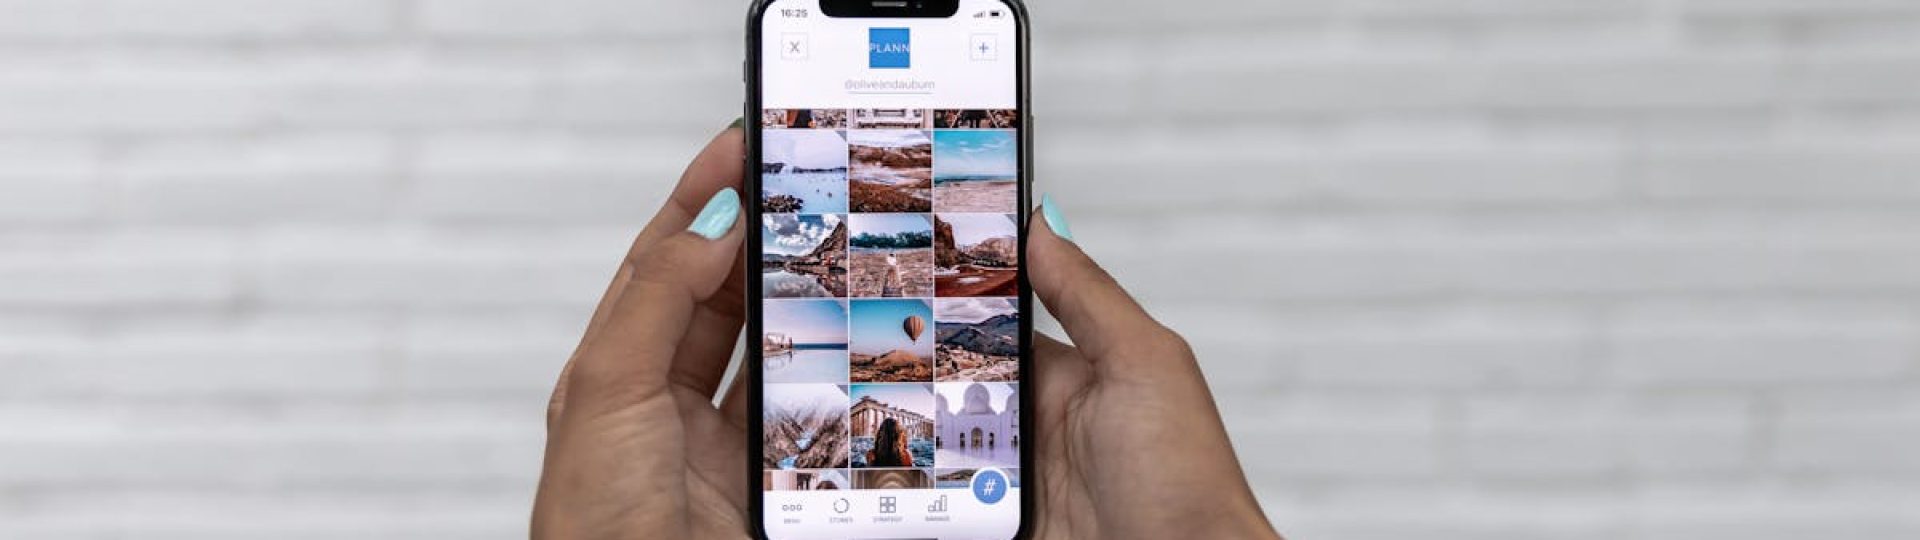
The platform also considers how images appear in the grid view on profiles. When someone visits your profile, they see a grid of square thumbnails. Even if you post a vertical or horizontal image, Instagram shows a square preview. This is why some parts of your photo might look cut off when viewed on your profile page, even though the full image appears when someone taps on it.
Understanding these reasons helps you work with Instagram’s system rather than against it. Once you know the rules, you can prepare your images in ways that preserve what matters most while still fitting the platform’s requirements.
Understanding Instagram’s Image Size Requirements
Before you can master how to get the full picture on Instagram, you need to understand the specific dimensions the platform accepts. Different types of content have different requirements, and knowing these numbers will save you a lot of frustration.
For regular feed posts, Instagram accepts three main aspect ratios. Square images work at 1:1, which means the width and height are equal. The recommended size for square posts is 1080 by 1080 pixels. Landscape or horizontal images use a 1.91:1 ratio, with a recommended size of 1080 by 566 pixels. Portrait or vertical images work best at 4:5, which translates to 1080 by 1350 pixels.
Stories and Reels have their own requirements. These vertical formats use a 9:16 aspect ratio, with a recommended resolution of 1080 by 1920 pixels. This fills the entire phone screen when someone views your story or reel, creating an immersive experience.
Profile pictures are displayed as small circles, but Instagram actually stores them at a higher resolution. The recommended size for profile photos is 320 by 320 pixels, though the platform can accept larger images and will resize them automatically.
When your image doesn’t match these ratios, Instagram automatically crops it to fit. This is where problems arise. A wide panoramic shot might lose the edges, or a tall vertical image might get cut off at the top and bottom. Learning to resize pictures for Instagram before uploading gives you control over what stays and what goes.
The key takeaway is that planning ahead makes all the difference. If you know you want to post a certain image on Instagram, consider the final dimensions while you’re taking the photo or editing it afterward.
How to View Full Profile Pictures on Instagram
Profile pictures on Instagram appear as tiny circles, making it nearly impossible to see details. Whether you’re curious about someone’s photo or want to check how your own profile picture looks at full size, there are ways to see the complete image.
Instagram doesn’t offer a built-in way to enlarge profile pictures. When you tap on someone’s profile photo, it doesn’t zoom in or expand. This design choice keeps the interface simple but leaves many users wanting more.
One straightforward method involves using a web browser on your computer. When you visit someone’s Instagram profile through a browser, you can sometimes access a larger version of their profile picture by inspecting the page elements. This requires some technical knowledge but works without any third-party tools.
Several websites and apps have been created specifically to help you view Instagram profile pictures in their full resolution. These tools typically ask you to enter a username, then retrieve and display the profile image at its original size. While convenient, always be cautious about which services you use and avoid any that ask for your Instagram login credentials.
For your own profile picture, the best approach is to keep a copy of the original image on your device. This way, you always have access to the full-resolution version without needing any special tools. When choosing a profile photo, remember that it will be displayed as a circle, so center the most important elements and avoid placing anything crucial near the edges.
Using White Borders to Show Full Pictures
One of the most popular solutions for posting full pictures on Instagram is adding white borders around your images. This technique lets you keep your entire photo intact while fitting it within Instagram’s required aspect ratios.
The concept is simple. Instead of letting Instagram crop your image, you place your photo on a larger canvas that matches the platform’s dimensions. The extra space around your image appears as a border, usually white to match most Instagram backgrounds, though you can use any color you prefer.
To create a white border manually, you can use almost any photo editing app. Start by creating a new canvas at Instagram’s preferred dimensions, such as 1080 by 1080 pixels for a square post. Then place your original image in the center, scaling it down if necessary so it fits entirely within the canvas. The remaining space becomes your border.
Many users prefer this method because it maintains the integrity of their original composition. Photographers especially appreciate being able to show their full frame without any cropping. The border also creates visual breathing room around the image, which can make it stand out more in a busy feed.
You can get creative with borders too. Some people use colored borders that complement their image or match their overall Instagram aesthetic. Others add subtle textures or gradients. The key is consistency. If you decide to use borders, applying them to all your posts creates a cohesive look on your profile grid.
One thing to consider is that borders make your actual image smaller within the frame. On mobile devices, this means viewers see less detail unless they tap to expand the post. Weigh this trade-off against the benefit of showing your complete picture.
Apps That Help You Post Full Pictures
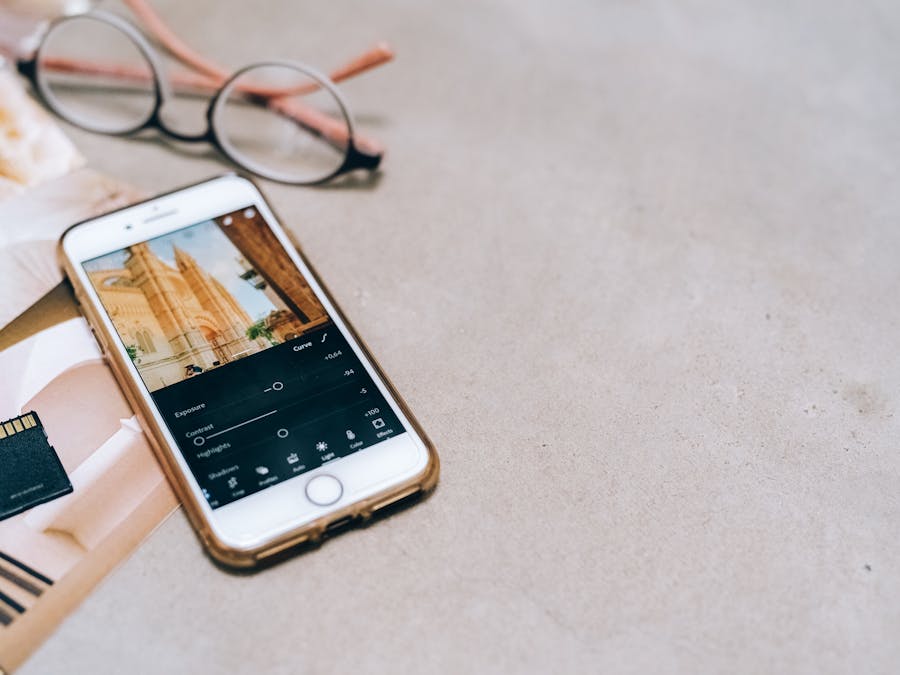
While you can add borders manually, several apps make the process much faster and easier. These tools are designed specifically for preparing images for Instagram and other social media platforms.
Whitagram is one of the most popular options. This free app lets you add white borders to any image with just a few taps. You can adjust the border size and choose different background colors. The interface is straightforward, making it perfect for beginners who want quick results.
InSquare is another excellent choice. Beyond basic borders, it offers additional features like filters, stickers, and text overlays. You can create collages and adjust your image’s position within the frame. The app supports various aspect ratios, so you can prepare images for different types of posts.
Snapseed, developed by Google, is a more comprehensive photo editing tool that includes options for adjusting canvas size. While it has a steeper learning curve than simpler border apps, it offers professional-level editing capabilities. You can fine-tune exposure, color, and sharpness while also preparing your image for Instagram.
For users who post frequently, apps with batch editing features can save significant time. Instead of processing each image individually, you can apply the same border settings to multiple photos at once. This is especially useful for businesses or content creators who need to prepare many images for their feed.
Canva deserves mention as well. This design platform offers Instagram-specific templates that automatically size your images correctly. You can add borders, text, graphics, and more. The free version includes plenty of features for casual users, while the paid version unlocks additional templates and tools.
When choosing an app, consider your specific needs. If you just want simple borders, a basic app will do the job. If you want more creative control or need to edit many images, invest time in learning a more powerful tool.
Creating Carousel Posts for Larger Images
Carousel posts offer a clever solution for sharing images that don’t fit well in a single frame. By splitting a large image across multiple slides, you can display panoramic shots, tall vertical images, or detailed photos that deserve more space.
Instagram allows up to ten images or videos in a single carousel post. Users swipe left to see each slide, creating an interactive viewing experience. This format works beautifully for wide landscape photos, where you can divide the image into two or three sections that viewers swipe through to see the complete scene.
To create a seamless carousel, you need to split your image carefully. Several apps can help with this process. They divide your photo into equal sections that align perfectly when posted in sequence. The key is ensuring that the cuts happen at logical points in your image, so each slide looks intentional rather than randomly chopped.
Carousels aren’t just for panoramas. You can use them to tell a story, show before-and-after comparisons, or display multiple angles of the same subject. For Instagram content ideas, consider how carousel posts can add variety to your feed while solving the full-picture problem.
One advantage of carousels is higher engagement. Because viewers need to swipe to see all the content, they spend more time on your post. This interaction signals to Instagram’s algorithm that your content is interesting, potentially boosting its visibility.
When planning a carousel, think about the first image carefully. This is what appears in your profile grid and what people see first in their feed. Make it compelling enough to encourage swiping, while also working as a standalone image for those who don’t engage further.
Avoiding Image Distortion When Resizing
Resizing images incorrectly can lead to stretched, squished, or blurry photos. Understanding how to maintain image quality while adjusting dimensions is essential for anyone who wants their Instagram posts to look professional.
The most common mistake is changing an image’s aspect ratio without maintaining proportions. If you take a horizontal photo and try to force it into a square format by stretching it vertically, everything in the image will look unnaturally tall and thin. Similarly, squishing a vertical image into a horizontal format makes everything look wide and flat.
To avoid this, always maintain your image’s original proportions when resizing. Most editing apps have a lock or chain icon that keeps the width and height linked. When you change one dimension, the other adjusts automatically to preserve the correct ratio. This prevents the composition of distortion that ruins otherwise good photos.
Another quality concern is resolution. When you enlarge a small image, it becomes pixelated and blurry because there isn’t enough original detail to fill the larger size. Always start with the highest resolution version of your image and size down if needed, rather than trying to size up.
Compression is another factor that affects quality. Every time you save a JPEG image, it loses some detail. If you edit and save the same image multiple times, this quality loss accumulates. Work with original files when possible, and save your final version only once.
For the best results, shoot photos at the highest quality your camera allows. This gives you more flexibility when editing and resizing later. Even smartphone cameras today can capture images at resolutions far higher than Instagram requires, giving you plenty of room to crop and adjust without losing quality.
Full Picture Tips for Business Accounts
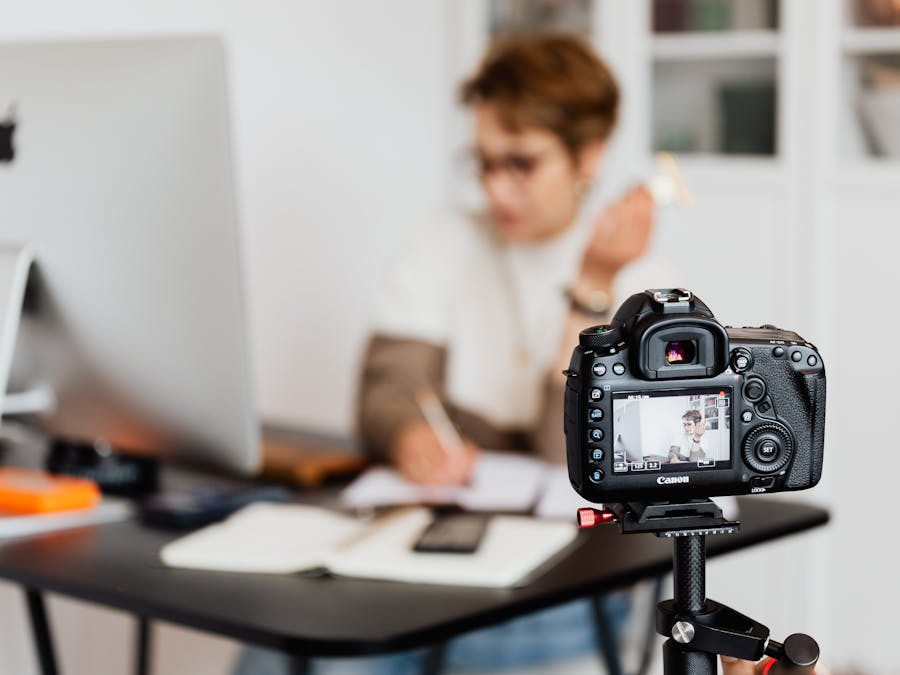
For businesses, displaying complete images isn’t just about aesthetics. It directly affects how customers perceive your products and brand. A cropped product photo might hide important features, while a poorly framed image can make your business look unprofessional.
Product photography requires special attention to framing. When photographing items for Instagram, leave extra space around the edges. This buffer zone gives you flexibility when cropping for different aspect ratios. You can always crop in tighter, but you can’t add back parts of the image that weren’t captured.
Consider how your products will appear in Instagram’s grid view. Since the grid shows square thumbnails, vertical product shots might have the top or bottom cut off in the preview. Plan your compositions so the most important elements remain visible even in the square crop.
When you set up your Instagram shop, properly sized product images become even more critical. Shopping posts need to clearly show what you’re selling. Cropped or distorted images can confuse customers and reduce sales.
Different industries have different image needs. Fashion stores on Instagram need to show complete outfits, including shoes and accessories that might get cropped in standard formats. Using vertical images or carousel posts helps display full looks from head to toe.
Similarly, automotive businesses on Instagram face unique challenges. Cars are wide, horizontal subjects that don’t fit naturally into square or vertical formats. Carousel posts work well for showing vehicles from multiple angles, while careful composition can capture a car’s best features within Instagram’s constraints.
Consistency matters for business accounts. Develop a standard approach to image sizing and stick with it. Whether you use borders, specific aspect ratios, or carousel formats, maintaining a consistent look builds brand recognition and makes your profile appear more professional.
Getting the Most From Your Instagram Images
Once you’ve mastered how to get the full picture on Instagram, think about how to maximize the value of your images beyond just posting them. Your photos can serve multiple purposes across different platforms and formats.
High-quality Instagram images can be repurposed for other marketing materials. The same product photo that works on Instagram might also fit your website, email newsletters, or print materials. By shooting and editing at high resolutions, you create versatile assets that work across channels.
You can also repurpose Instagram photos into other content formats. A series of related images might become a blog post or tutorial. Behind-the-scenes photos could support a longer story about your creative process. Think of your Instagram images as building blocks for broader content strategies.
Organizing your image library saves time in the long run. Create folders for different types of content, and keep original high-resolution versions separate from edited versions. This organization makes it easy to find and reuse images when needed.
Backing up your images is essential. Instagram compresses photos when you upload them, so the versions on the platform are lower quality than your originals. Keep copies of your original files on your computer, an external drive, or cloud storage. This protects your work and ensures you always have access to the best versions.
To manage your images effectively, you need reliable access to your account. Taking steps to maintain stable Instagram access ensures you can always upload, edit, and organize your content without interruption.
Finally, pay attention to what works. Instagram’s insights show you which posts perform best. Look for patterns in your successful content. Do certain image styles, aspect ratios, or compositions get more engagement? Use this data to refine your approach and create more of what your audience responds to.
Learning how to get the full picture on Instagram takes some effort upfront, but the results are worth it. Your images will look better, your profile will appear more polished, and you’ll have more control over how your content appears to the world. Start with the basics, experiment with different techniques, and find the approach that works best for your specific needs.